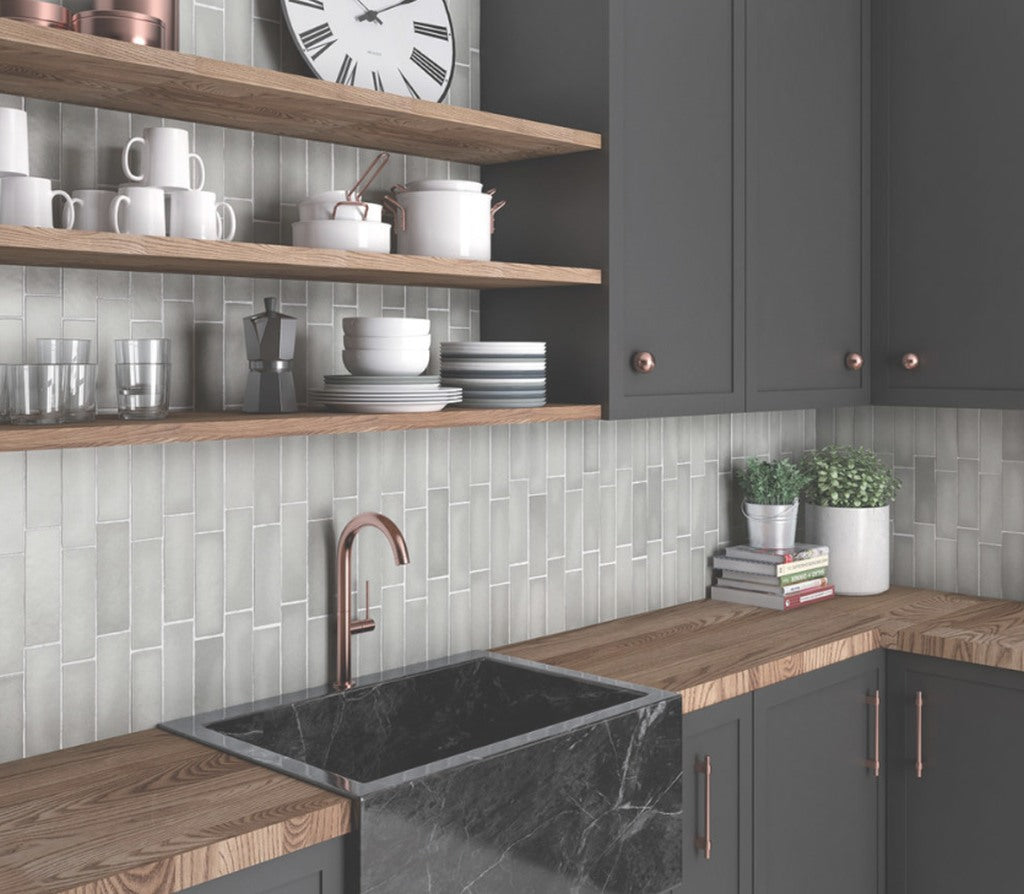
Kitchen splashbacks are an essential part of any kitchen, both from a practical and aesthetic perspective. They protect your walls from water, oil, and other kitchen-related messes, while also adding a touch of style to your space. One of the most popular materials for splashbacks is tiles, due to their durability, versatility, and range of design options. In this comprehensive guide, we will take you through the step-by-step process of tiling a kitchen splashback.
Materials and Tools Needed:
- Tiles
- Tile adhesive
- Tile spacers
- Tile cutter or tile saw
- Tile edging strip (optional)
- Grout
- Grout spreader
- Sponge
- Spirit level
- Pencil
- Measuring tape
- Protective gloves and glasses
Step 1: Preparation
Before you begin tiling your kitchen splashback, you need to make sure that the surface is clean, dry, and free from any debris or grease. If necessary, use a scraper and a degreaser to remove any stubborn stains. Measure the area that you want to tile, and purchase enough tiles to cover the space, plus a few extra in case of breakages or mistakes.
Step 2: Planning
Now that you have your tiles, you need to plan the layout of your splashback. You can opt for a uniform pattern, or create a design with different shapes, sizes, and colors. Use a spirit level and a pencil to mark the starting point of your tiles, and lay them out on a dry surface to see how they fit together.
Step 3: Applying Adhesive
Once you have planned the layout of your tiles, it's time to apply the adhesive. Start by mixing the tile adhesive according to the manufacturer's instructions. Using a notched spreader, apply the adhesive to the wall in small sections, starting from the bottom and working your way up. Make sure to apply enough adhesive to ensure that the tiles stick properly.
Step 4: Tiling
Now it's time to start tiling your splashback. Start at the bottom of the wall, and use tile spacers to ensure that the tiles are evenly spaced. Cut any tiles that need to be trimmed to fit around the edges of the space. Use a spirit level to ensure that each row of tiles is level, and wipe away any excess adhesive with a sponge as you go.
Step 5: Edging
Once you have tiled the entire space, you may want to add an edging strip to the top and bottom of the splashback. This will create a clean and finished look, and also hide any uneven edges. Cut the edging strip to size, and glue it into place with tile adhesive.
Step 6: Grouting
After the tile adhesive has dried, it's time to grout the tiles. Mix the grout according to the manufacturer's instructions, and spread it over the tiles with a grout spreader. Make sure to press the grout into the gaps between the tiles, and wipe away any excess with a sponge. Let the grout dry for a few hours, then wipe away any remaining haze with a dry cloth.
Step 7: Finishing
Finally, once the grout is completely dry, you can add the finishing touches to your splashback. Remove the tile spacers, and seal the edges of the splashback with silicone sealant. This will protect the tiles from water damage and help to keep them looking clean and new.
In conclusion, tiling a kitchen splashback is a simple and cost-effective way to add a touch of style and practicality to your kitchen. By following these steps and taking the time to plan and prepare, you can create a beautiful and functional


Leave a comment